
Premiere Pro CC How to Lower Volume YouTube
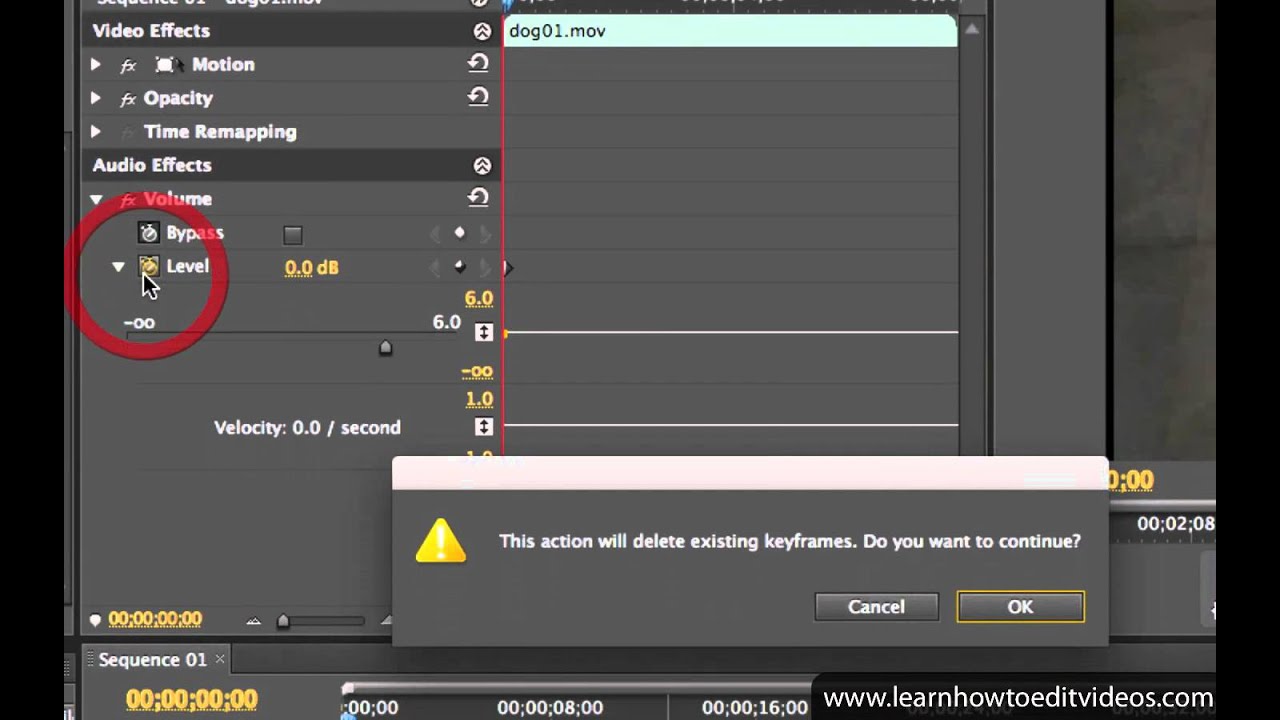
Zoom-in on the end of your audio clip, hold Ctrl and click to create two keyframes on the Volume Level (hold CMD on Mac). Then drag the second keyframe to the bottom. That will eliminate any stubborn pops at the end of your audio clips. Quickly fade out audio using keyframes to remove annoying "pop" sounds. 2.
How to Adjust/Lower Volume/Audio in Adobe Premiere Pro
To reduce or lower volume in adobe premiere pro, first drop your video into the project panel. Next, drop it onto the timeline. Left click on the A1 (Audio.
Adjusting a clip's volume Adobe Premiere Pro CS5 Video Tutorial YouTube
Change Audio Volume in the Audio Clip Mixer in Premiere Pro. Instead of changing the volume in the Audio Track Mixer, you can also change the volume for every audio clip individually. To do so, go to " Window" and then select " Audio Clip Mixer.". The Audio clips represent the individual clips that you see in your timeline.

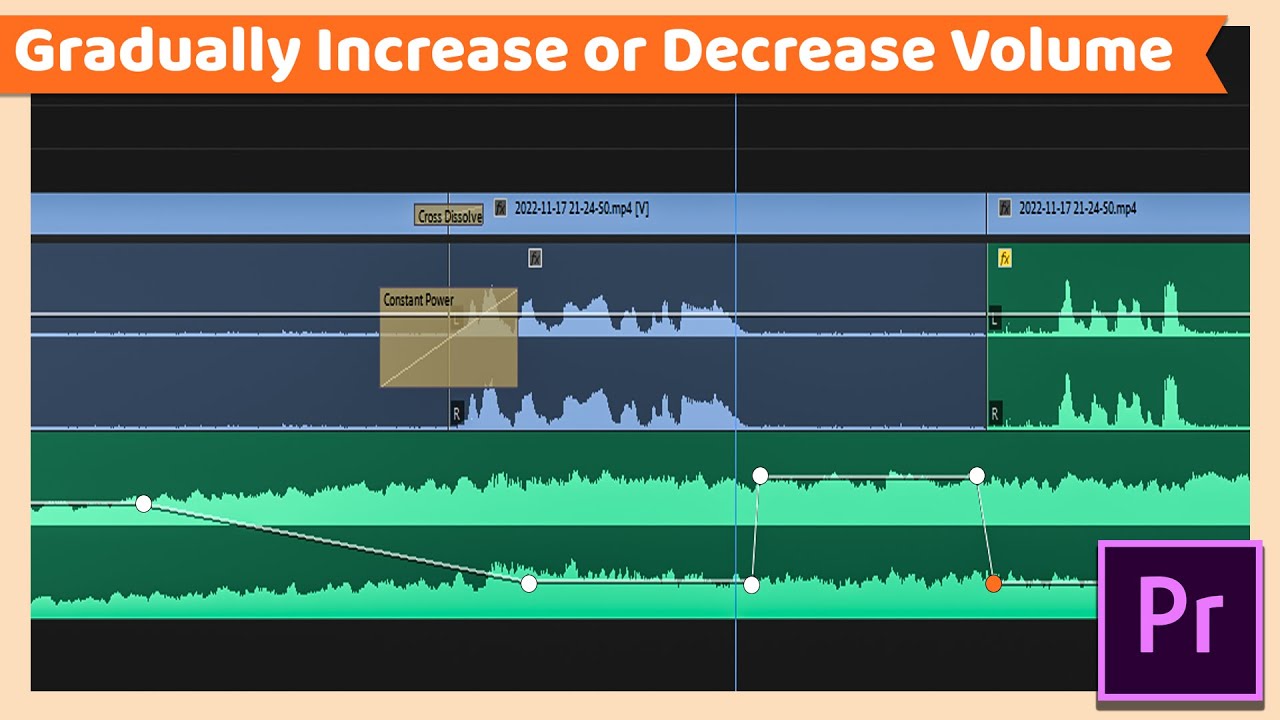
How to GRADUALLY INCREASE or DECREASE audio VOLUME in premiere pro YouTube
To select non-contiguous clips, click Ctrl-click (Windows) or Command-click (Mac OS). Choose Clip > Audio Options > Audio Gain or keyboard shortcut G. The Audio Gain dialog box opens. Premiere Pro automatically calculates the peak amplitude of the selected clips. This value is displayed in the Peak Amplitude field.
How to Adjust/Lower Volume/Audio in Adobe Premiere Pro
Step 3. Move the Clarity slider up (towards 10) to make the audio levels more consistent in your clip. That's it, you're done, easy as that! Sometimes, with audio, it isn't always that easy to get it sounding consistent. That's why I created a deep dive video into how to setup a simple compression effect .

How to Lower Audio Volume in Premiere Pro YouTube
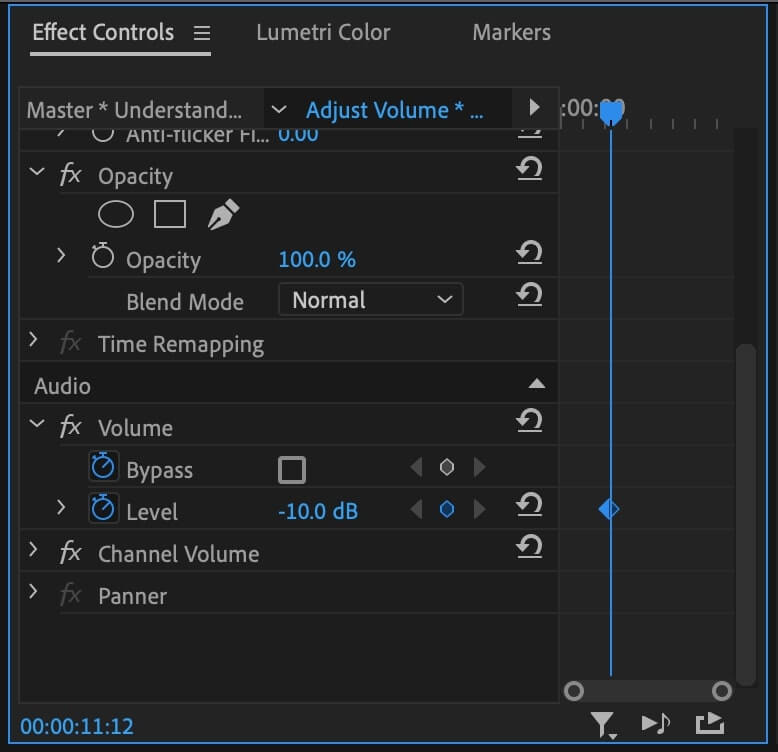
Adjusting Volume in Premiere Pro Using the Effect Controls Panel. To begin, select the clip in the timeline who's audio levels you want to raise or lower. Next find the Effect Controls Panel. If you don't see it, go under the Window Menu and click Effect Controls. Or you can use the keyboard shortcut Shift+5 to activate the panel.
How to fade out audio in Premiere Pro Ultimate guide
1. To manually adjust the volume of the music track, select the Pen tool in the Tools panel window or press ' p ' on your keyboard. Then, on the music track (top layer), create 2 keyframes on the sides where the voiceover audio starts and ends, and do the same for the second layer. 2. Next, switch back to the main ' Selection ' tool.

How to Lower Volume in Premiere Pro YouTube
Go with the most convenient method. Method 1: To adjust your audio, select your audio from the sequence timeline. Enlarge your audio track. Now drag your mouse over the audio band from your sequence timeline. Your pointer will change; just drag it upward to increase the volume or drag it down to decrease it.

How to Lower The Volume in Premiere Pro YouTube
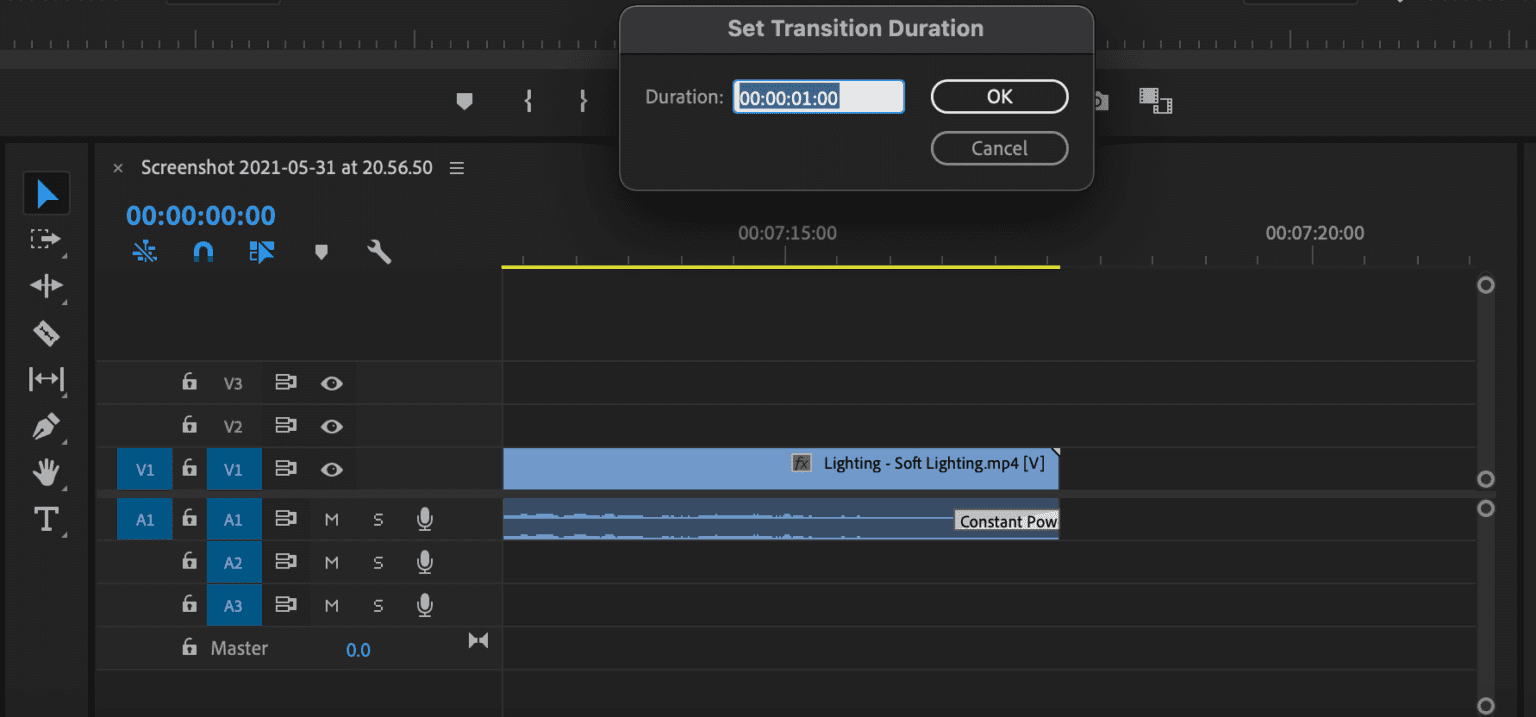
Select the background (for example, music) clip in the timeline, then assign it the Music audio type in the Essential Sound panel. Click the checkbox next to Ducking to enable auto-ducking. When you enable ducking, Premiere Pro adds an Amplify Effect to the clip. Keyframes that are computed by the Auto Ducking algorithm are added to this effect.
How to Adjust/Lower Volume/Audio in Adobe Premiere Pro
In this tutorial you'll learn how to raise, lower, or change the volume levels of audio in Premiere Pro. There's several ways to do this but here is the most.

How to Lower Volume Premiere Pro 2022 (With Shortcuts) YouTube
Adjust the audio level using the Timeline (alternative): Select and highlight the clip you want to adjust. Drag the clip into the Timeline panel. Grab the white line for the clip you want to adjust and move it up to raise the audio level; move it down to reduce it. Adobe Premiere Pro with Timeline panel open.

How to Reduce Volume Premiere Pro CC 2021 YouTube
For Premiere Pro tutorials, please follow the playlist - https://www.youtube.com/playlist?list=PL6oDA8S3RmtHXp5tZdNa3JWrpfmZfS-TlIn this video, I'll show you.
Gradually Increase or Decrease Audio Volume Adobe Premiere Pro CC Tutorial YouTube
Let us now have a look at how to lower (or also increase of course) the volume of any audio track in Premiere Pro. Step 1: Open up the Audio Track Mixer. The Audio Track Mixer is typically located in the top left corner of the screen. If you can't find the Audio Track Mixer, you can go to "Window" in the main menu and then click on.

How To Deacrease Volume in Premiere Pro 2023 Gradually Decrease Volume Premiere Pro Tutorial
Creative apps and services for everyone. Photographers Lightroom, Photoshop, and more. Students and teachers Save over 60% on Creative Cloud. Individuals 20+ creative apps, Acrobat, and more. Business Solutions for teams and enterprises. Schools and universities Simple administration and licensing. View plans and pricing Simple administration.

How To Lower Music Volume In Adobe Premiere[Detailed Guide] Renee Robyn
Step By Step Guide with Premiere Pro. Step 1: To begin with, upload the clip whose audio you want to lower on the platform, and make sure that you also add it to the timeline. Step 2: Select the clip on the timeline, and then find the Effects Control Panel, which you will find under the Window Menu.

GRADUALLY Increase or Decrease your audio volume using Keyframes in Premiere Pro YouTube
Method 2: Adjusting the Audio Gain. To adjust the volume of your chosen audio, right-click on it and select "Audio Gain". In the dialog box that appears, enter a value in the "Adjust Gain by" field. If you want to increase the volume, enter a positive value. If you want to decrease the volume, input a negative value.
